Running Modulaser on Raspberry Pi
Looking for a compact, affordable way to run laser shows? Modulaser runs on Raspberry Pi, giving you a tiny, dedicated laser controller.
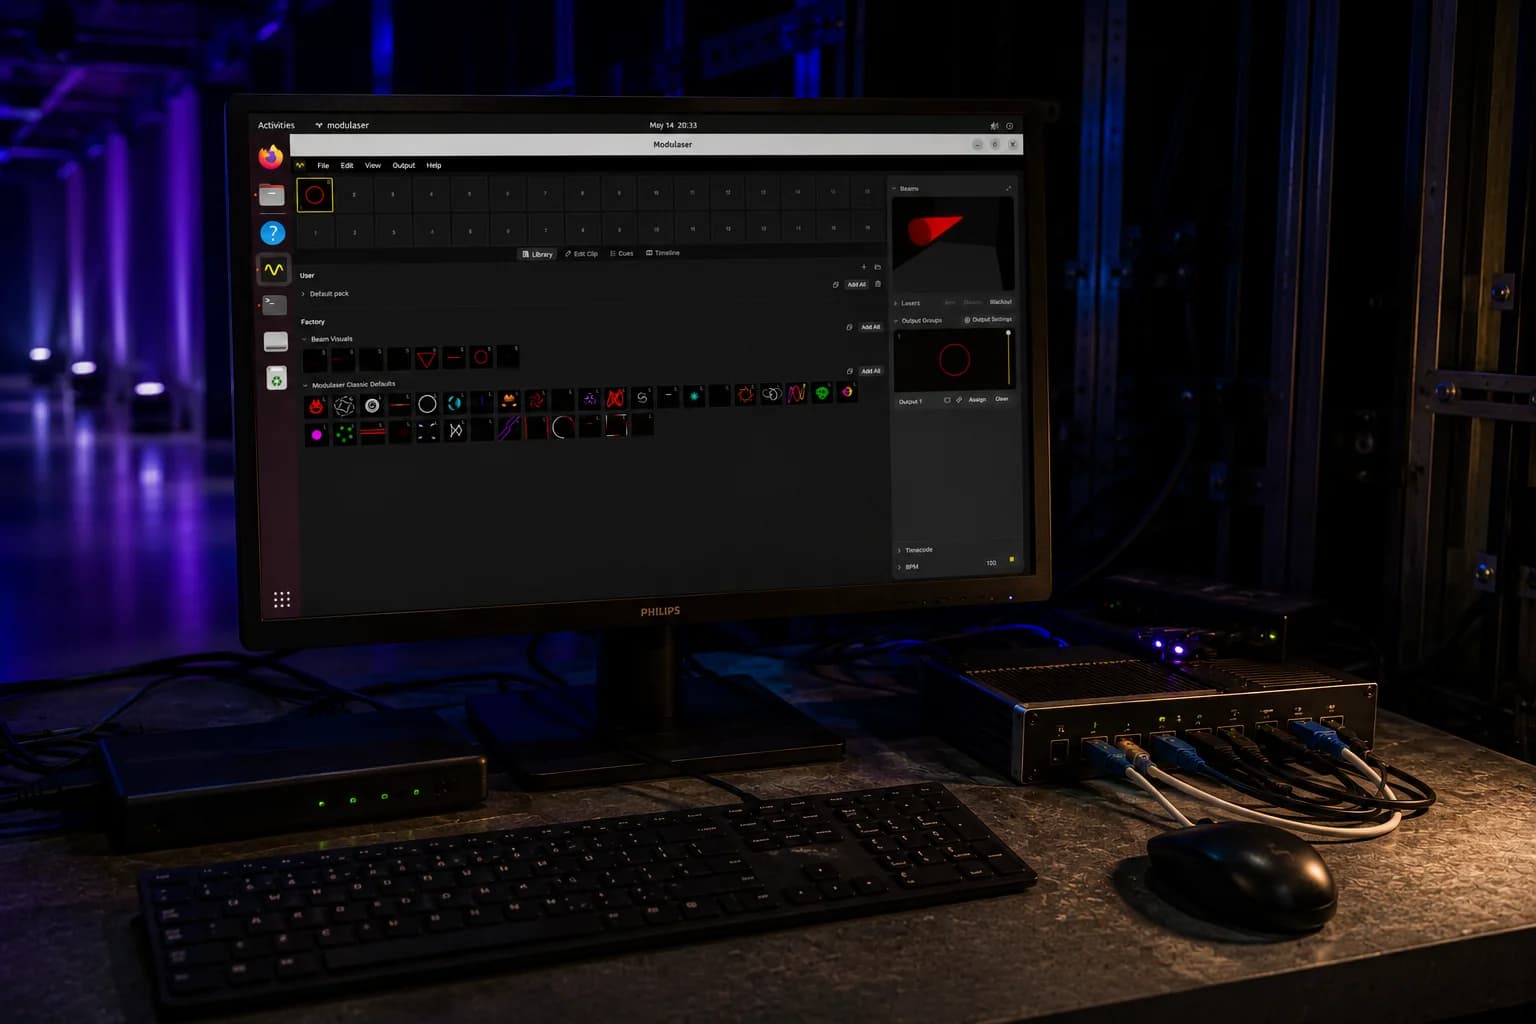
Recommended hardware
We tested Modulaser on a Raspberry Pi 5 and would recommend the Pi 5 with at least 2 GB of RAM for a smooth experience.
Installation
Modulaser provides Linux builds for both x64 and arm64 architectures. For Raspberry Pi, download the arm64 build from the downloads page.
Other Linux-based platforms with arm64 or x64 support should work as well.
USB DACs
Helios and USB LaserCube devices need permission to open the USB device on Linux. The .deb and .rpm packages install a udev rule that grants it, so replugging the DAC is enough. With the AppImage or another install, add the rule yourself. Until then the laser shows Permission needed.
Create /etc/udev/rules.d/70-modulaser-laserdac.rules with these two lines:
SUBSYSTEM=="usb", ENV{DEVTYPE}=="usb_device", ATTRS{idVendor}=="1209", ATTRS{idProduct}=="e500", MODE="0660", GROUP="plugdev", TAG+="uaccess"
SUBSYSTEM=="usb", ENV{DEVTYPE}=="usb_device", ATTRS{idVendor}=="1fc9", ATTRS{idProduct}=="04d8", MODE="0660", GROUP="plugdev", TAG+="uaccess"
Then reload the rules and replug the DAC:
sudo udevadm control --reload-rules && sudo udevadm trigger
To control the Pi from another device, turn on Remote Control and run Modulaser from a phone, tablet, or laptop, including arming the lasers. OSC and MIDI can adjust parameters but can't arm output. You set up lasers and output groups in the app itself.