Generative Pen Plotter Art with Modulaser
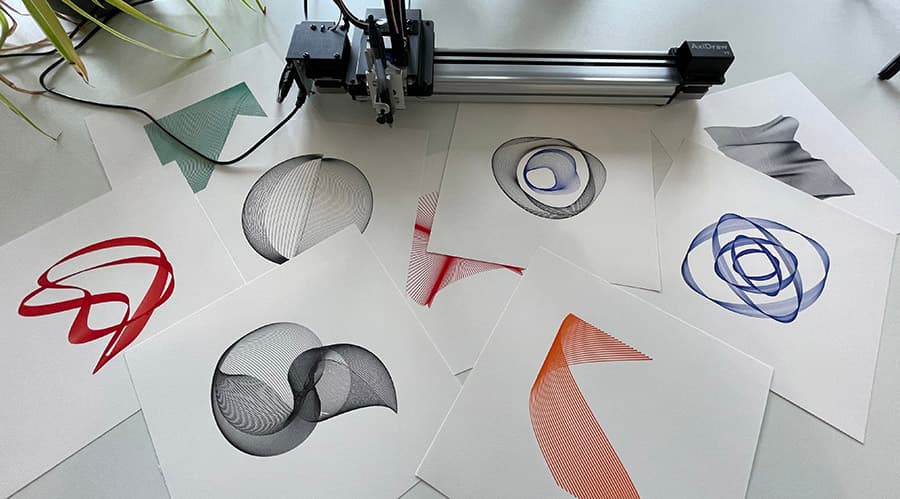
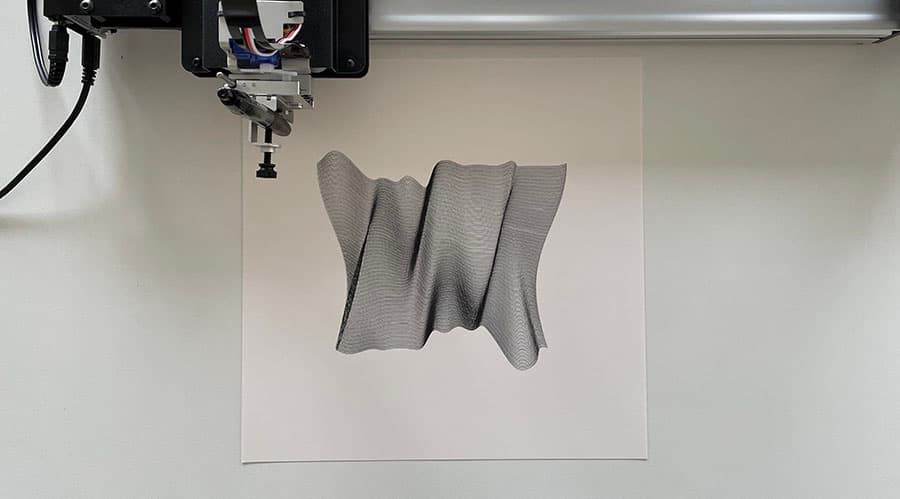
Modulaser is built for laser shows, but its SVG recorder also makes it useful for pen plotter art. You can build animated line visuals, sample that motion over time, and export the result as an SVG for an AxiDraw or similar plotter.
You do not need a laser projector, DAC, Output Group, or armed output for this workflow. Select a clip, record an SVG, and plot the file in your usual pen plotter software.
Before You Start
You'll need:
- Modulaser 2 installed.
- A pen plotter workflow that can draw SVG files, such as Inkscape with AxiDraw tools.
- A Modulaser clip to record. The examples below are a good starting point.
You can ignore the laser output parts of the app for now: lasers, DACs, arming, blackout, projection mapping, ILDA, and AIFF.
1. Open a Plotter Example
Download one of these example packs:
Open the .modu file in Modulaser. Click a clip in the clip deck to select it. The selected clip appears in the preview immediately.
If you want to start from the factory library instead, open View > Library and click a clip to add it to the deck.
2. Make the Visual Move
Plotter drawings get interesting when Modulaser records motion, not just a still frame. Use the example clips as they are, or adjust a Phase Speed, Cycles, or modulation control to change how the line moves.
You do not have to understand the whole laser vocabulary to get started. For plotter work, focus on:
- the clip preview
- the clip's shape and motion controls
- color, if you want separate SVG stroke colors
- the Record window
3. Open the Record Window
Select the clip you want to export, then open View > Record or press CmdCtrlCmd/Ctrl + R.
In the Record window:
- Set Capture to Image.
- Set Format to SVG.
- Set Output to Single file for one combined SVG, or Folder for one SVG per recorded frame.
- Set Frame rate.
- Set Resolution. It becomes the SVG's width and height (default 1080 × 1080).
For most pen plotter work, Single file is the best starting point. It writes the recorded frames into one SVG so your plotter software can draw the combined result.
4. Choose Frame Rate and Duration
Frame rate is one of the main controls for this workflow. It decides how often Modulaser samples the moving visual while recording.
- 5-10 fps creates sparse, sketchy drawings and quick test plots.
- 15-30 fps works well for most plotter artwork.
- 30-60 fps creates smoother and denser motion trails, but the SVG usually takes longer to plot.
Recording duration matters just as much. A 2 second recording at 10 fps captures about 20 frames. A 2 second recording at 30 fps captures about 60 frames.
Think of Frame rate x recording time as the drawing density control. If the plot will take too long, lower the frame rate, record for less time, or simplify the clip.
Recording temporarily changes Modulaser's global frame rate. If a laser is connected and armed, disarm it before you record.
5. Record the SVG
Click Record. Let the animation run until the drawing has enough detail, then click Stop Recording in the right panel.
If the clip has a clean repeating motion, enable Stop after loop before recording. Modulaser will try to stop when the animation returns to its starting point, which is useful for balanced, seamless plotter drawings.
If you want a fixed recording length, enable Stop after and enter a duration in seconds.
For a single snapshot instead of an accumulated drawing, click Capture. This writes one SVG frame from the current clip state.
6. Plot the File
The Record window shows recent files after recording. Open the SVG in your plotter software, inspect the paths, and send it to the machine.
For AxiDraw, Evil Mad Scientist's AxiDraw user guide explains the Inkscape extension and plotting workflow.
Useful Settings
- Line width lives in the preview settings gear. It affects the SVG stroke width.
- Frame rate controls how many animation samples are recorded per second.
- Resolution sets the SVG's width and height.
- Single file combines the recorded frames into one SVG.
- Folder writes one SVG per frame, useful if you want to inspect or process frames separately.
- Stop after loop can make repeating oscillator-based clips finish at a clean point.
- Capture exports one still SVG instead of recording motion.
SVG export keeps visible strokes and skips blanked travel moves. Stroke colors come from the clip. If your plotter setup uses one pen, you can recolor the SVG in Inkscape or your plotter software before drawing.
FAQ
Do I need a laser projector to export SVGs?
No. SVG recording works from the selected clip. You do not need a projector, DAC, Output Group, or armed laser output.
Do I need to create Output Groups?
No. Output Groups route clips to lasers. They are not needed for SVG export.
Is Modulaser pen plotter software?
Not primarily. Modulaser is laser show software, but its SVG recorder is useful for generative pen plotter artwork.
Which output should I use: Single file or Folder?
Use Single file for most plotter drawings. It combines the recorded frames into one SVG. Use Folder if you want one SVG per recorded frame for inspection or custom processing.
Why is my SVG taking so long to plot?
The drawing is probably too dense. Lower the Frame rate, record for less time, or simplify the clip.
Can I use an AxiDraw?
Yes. Export an SVG from Modulaser, then plot it through the normal AxiDraw/Inkscape workflow.
Can I export one still SVG instead of recording motion?
Yes. Click Capture in the Record window. This writes one SVG frame from the current clip state.
What to Ignore for Plotter Work
Modulaser includes a lot of laser show tools. For SVG export to a pen plotter, you can ignore:
- Output Groups: used to route clips to lasers, not needed for SVG recording.
- Lasers and DACs: hardware output only.
- Arm, Blackout, and safety interlocks: live laser controls.
- Projection Mapping: calibrates a projected laser area.
- ILDA and AIFF: laser playback formats, not plotter formats.
- Laser-specific scan settings: useful for projectors, not required for SVG files.
Come back to those later only if you start using Modulaser with actual laser hardware.